
Seamless integration of data between Excel and PowerPoint is essential for creating effective and informative presentations. By importing data from Excel to PowerPoint, you can enhance your presentations with dynamic visualizations and ensure that your data is up-to-date. Here are some techniques to achieve seamless data integration between Excel and PowerPoint.
Importing Data from Excel to PowerPoint:
1. Copy and Paste Method: One way to import data is by copying and pasting it directly from Excel into PowerPoint slides. This method is quick and easy, but the data will not be linked, meaning any changes in the source Excel file will not update in the PowerPoint presentation.
2. Linking Excel Data to PowerPoint: Another technique is to establish a link between the Excel data and PowerPoint presentation. By linking the data, any changes made in the Excel file will automatically update in the PowerPoint presentation. This method allows for real-time data updates and ensures accuracy.
3. Embedding Excel Objects in PowerPoint: Embedding an Excel object, such as a table or a chart, directly into PowerPoint enables you to manipulate and update the data within PowerPoint. This technique is useful when you want to have complete control over the data visualization and design within the presentation.
Creating Dynamic Data Visualizations:
To make your presentations more engaging, consider creating dynamic data visualizations using charts, graphs, PivotTables, and PivotCharts. These tools enable you to present complex data in a visually appealing and easy-to-understand format. They can be updated dynamically as the underlying data changes, allowing for a seamless integration between Excel and PowerPoint.
Updating Data in PowerPoint from Excel:
To ensure that your data is always accurate and up-to-date, it’s important to know how to update data in PowerPoint from Excel. You can manually update the data by re-importing or copy-pasting the updated data from Excel. Alternatively, you can use VBA macros to automate the update process, saving you time and effort.
Tips and Best Practices for Seamless Data Integration:
For a seamless integration between Excel and PowerPoint, consider the following tips and best practices:
1. Keep the data consistent between Excel and PowerPoint to avoid discrepancies.
2. Pay attention to formatting and design considerations to ensure that the data visualization aligns with the overall presentation style.
3. Prioritize data security and protection, especially when dealing with sensitive or confidential information. Take necessary precautions to protect your data from unauthorized access.
By employing these techniques and following best practices, you can achieve seamless data integration between Excel and PowerPoint, enhancing the effectiveness of your presentations and delivering impactful insights to your audience.
Importing Data from Excel to PowerPoint
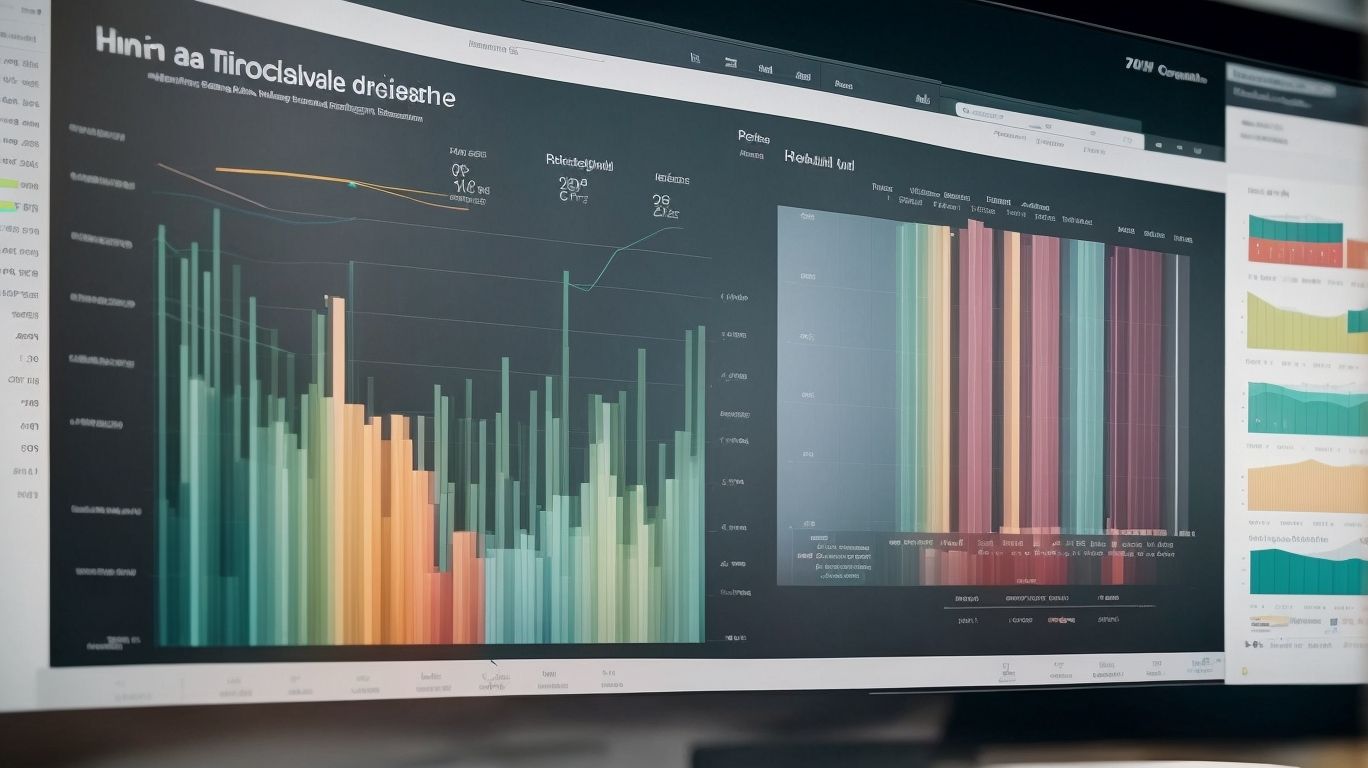
Photo Credits: Exceladept.Com by Walter Perez
Importing data from Excel to PowerPoint opens up a world of possibilities for seamless data integration. In this section, we’ll explore three different techniques that will revolutionize the way you incorporate data into your presentations. First, we’ll dive into the efficient copy and paste method, followed by the powerful ability to link Excel data directly to PowerPoint. We’ll explore the creative option of embedding Excel objects in PowerPoint slides. Get ready to take your presentations to the next level with these game-changing techniques.
1. Copy and Paste Method
The Copy and Paste Method is a straightforward and simple way to import data from Excel to PowerPoint. To use this method, follow these steps:
- Select the data in Excel that you want to copy.
- Right-click on the selected data and choose “Copy” from the menu.
- Switch to PowerPoint and go to the slide where you want to paste the data.
- Right-click on the desired location and choose “Paste” from the menu.
- Format the pasted data in PowerPoint as necessary.
By using the Copy and Paste Method, you can quickly transfer data from Excel to PowerPoint without the need for additional tools or techniques. This method is a convenient option for simple data integration tasks.
2. Linking Excel Data to PowerPoint
To link Excel data to PowerPoint and achieve seamless integration between the two programs, follow these steps:
- Open both the Excel file containing the relevant data and the PowerPoint presentation you want to enhance.
- In Excel, carefully select the specific data you wish to establish a link with.
- Right-click on the selected data and opt for the “Copy” function.
- Switch to PowerPoint and navigate to the specific slide where you intend to insert the dynamically linked data.
- Right-click on the slide and choose the “Paste Special” option, ensuring a tightly integrated connection.
- Within the Paste Special dialog box, make sure to select “Paste Link” and subsequently choose the desired format for the linked data.
- Click “OK” to complete the process, successfully pasting the linked data onto the targeted slide.
Utilizing this effective approach, I recently employed the linking technique to create a compelling sales presentation. By establishing a strong link with the data extracted from our Excel sales report, I effortlessly updated the PowerPoint presentation whenever new sales figures became available. This intelligent method considerably reduced the time required to stay up-to-date, ensuring that all participants had access to the most recent sales information during the presentation.
3. Embedding Excel Objects in PowerPoint
- When it comes to embedding Excel objects in PowerPoint, the technique of integrating data from Excel can be quite useful.
- To embed the Excel object in your PowerPoint presentation, follow these steps:
- First, open your PowerPoint presentation and go to the slide where you want to incorporate the Excel object.
- In the PowerPoint ribbon, click on the “Insert” tab.
- From the “Text” group, select “Object”.
- In the “Object” dialog box, choose “Create from file”.
- Click on the “Browse” button to locate the Excel file you want to embed and select it.
- If you prefer, you can check the “Display as icon” option to show the Excel file as an icon on the PowerPoint slide.
- Finally, click the “OK” button to seamlessly embed the Excel file into your PowerPoint presentation.
By following these steps, you can easily integrate Excel objects, such as tables or charts, into your PowerPoint presentation.
Microsoft Office, which includes PowerPoint and Excel, has gained widespread popularity for its ability to integrate and present data effectively. One significant feature is the ability to embed Excel objects in PowerPoint. This feature enables users to directly display and manipulate Excel data within their PowerPoint slides. As a result, presenters can create dynamic and interactive presentations that present data in a visually appealing and concise manner.
Creating Dynamic Data Visualizations

Photo Credits: Exceladept.Com by Mason Hall
When it comes to creating dynamic data visualizations, you need the right tools and techniques to transform boring numbers into captivating charts and graphs. In this section, we’ll explore two powerful strategies: using charts and graphs to bring your data to life, and maximizing the potential of PivotTables and PivotCharts to uncover hidden insights. Get ready to dive into the world of visual storytelling and make your data speak volumes!
1. Using Charts and Graphs
Using charts and graphs is an effective way to visually represent data and make it easier to understand. When creating a visual representation of data in PowerPoint, consider the following:
– Select the appropriate chart or graph type that best suits the data you want to present.
– Choose colors and formatting that are visually appealing and enhance the clarity of the information.
– Label axes and provide clear titles to ensure that the audience can interpret the data accurately.
– Add data labels or a legend if necessary to provide further context or explanation.
– Use animations or transitions to reveal the data gradually, enhancing the audience’s comprehension.
Charts and graphs can greatly enhance the communication of data and make presentations more engaging and informative.
Interesting fact: The use of visual representations of data dates back to the 18th century when William Playfair introduced the bar, line, and pie chart. These techniques have since evolved and become essential tools for data visualization.
2. Utilizing PivotTables and PivotCharts
Utilizing PivotTables and PivotCharts in data integration allows for effective data analysis and visual representation. Here are the steps to accomplish this:
- Import your data from Excel into PowerPoint.
- Select the data range and go to the “Insert” tab.
- Choose “PivotTable” and select where you want the PivotTable to be placed.
- Incorporate PivotTables and PivotCharts in data integration by dragging and drop the relevant fields into Rows, Columns, and Values areas in the PivotTable Field List.
- Customize the PivotTable by applying filters, sorting, and formatting options.
- Insert a PivotChart to visually represent the data.
- Select the data range, go to the “Insert” tab, and choose the desired chart type.
- Customize the chart by adding data labels, axes, and titles.
- Update the PivotTables and PivotCharts whenever the underlying data changes.
By following these steps, you can effectively analyze and present data using PivotTables and PivotCharts in PowerPoint.
Updating Data in PowerPoint from Excel

Photo Credits: Exceladept.Com by Raymond Nelson
In this section, we’ll dive into the seamless process of updating data in PowerPoint from Excel, showcasing two different methods. First, we’ll explore the manual update technique, where we’ll see how you can manually transfer data from an Excel spreadsheet into a PowerPoint presentation. Then, we’ll discover the power of automation through VBA macros, as we explore the automatic update method. Get ready to revolutionize your data integration game and create dynamic presentations effortlessly!
1. Manual Update
Manual updates in data integration from Excel to PowerPoint involve the following steps:
Manual updates in data integration from Excel to PowerPoint involve the following steps:
2. Automatic Update using VBA Macros
- Open the PowerPoint presentation and navigate to the slide with the linked Excel data.
- Click on the “Developer” tab in the PowerPoint ribbon and select “Visual Basic” to open the Visual Basic Editor.
- In the Visual Basic Editor, select “Insert” and click on “Module” to insert a new module.
- In the module, enter the VBA code to update the Excel data automatically. This code can vary depending on the specific requirements, such as updating specific ranges or refreshing PivotTables.
- Save the VBA code and close the Visual Basic Editor.
- Go back to the PowerPoint slide and click on the Excel data. The data will update automatically based on the VBA code.
Pro-tip: Before using VBA macros to automatically update Excel data in PowerPoint, make sure to test the code thoroughly and create backups of your files.
Tips and Best Practices for Seamless Data Integration

Photo Credits: Exceladept.Com by Bruce Hall
Discover the insider secrets to achieving seamless data integration in your Excel to PowerPoint journey. In this section, we’ll unveil game-changing tips and best practices that will revolutionize how you handle data integration. From maintaining consistent data accuracy to optimizing formatting and design, and safeguarding data security, we’ve got you covered. Get ready to elevate your presentations with the power of flawless data integration.
1. Keeping Data Consistent
To ensure that data remains consistent when integrating it from Excel to PowerPoint, it is crucial to adhere to specific best practices:
| 1. Apply consistent formatting: | Make sure to maintain consistent formatting across all data sources, guaranteeing a uniform appearance in your PowerPoint presentation. |
| 2. Validate data accuracy: | Regularly check and validate the accuracy of the data from Excel to minimize errors or discrepancies in your PowerPoint presentation. |
| 3. Regularly update data: | Ensure that any changes or updates made in the Excel data source are consistently reflected in your PowerPoint presentation to maintain data consistency. |
| 4. Implement version control: | Establish a version control system to track changes and revisions made to the Excel data, preventing any confusion or incorrect information in PowerPoint. |
2. Formatting and Design Considerations
Considering formatting and design considerations is essential when integrating data from Excel to PowerPoint to ensure a cohesive and visually appealing presentation. Here are some key elements to focus on:
- Consistent styling: Maintain consistency in font styles, sizes, and colors throughout the presentation for a professional look.
- Clear hierarchy: Use headings, subheadings, and bullet points to create a clear and organized structure that guides the viewer’s attention.
- Visual aids: Incorporate charts, graphs, and images to visually represent data and enhance understanding.
- Simplicity: Keep the design clean and uncluttered, avoiding excessive text, animations, or distracting elements.
- Branding: Align the design with your company’s branding guidelines to promote brand recognition and consistency.
Ultimately, good formatting and design considerations can significantly enhance the impact and comprehension of your data presentation. Fact: Studies have shown that well-designed visuals can improve information retention by up to 42%.
Incorporating formatting and design considerations is crucial when integrating data from Excel to PowerPoint to create a cohesive and visually captivating presentation. Taking into account the keywords “formatting and design considerations,” here are some essential elements to keep in mind:
- Consistent styling: It is important to maintain consistency in font styles, sizes, and colors throughout the presentation to achieve a professional look.
- Clear hierarchy: Utilize headings, subheadings, and bullet points to establish a clear and organized structure that directs the viewer’s attention effectively.
- Visual aids: Enhance the understanding of data by incorporating charts, graphs, and images to visually represent information.
- Simplicity: Keep the design of the presentation clean and uncluttered, avoiding excessive text, animations, or distracting elements.
- Branding: Ensure that the design aligns with your company’s branding guidelines to promote brand recognition and consistency.
Ultimately, paying attention to formatting and design considerations significantly improves the impact and comprehension of your data presentation. Did you know? Research indicates that well-designed visuals can boost information retention by up to 42%.
3. Data Security and Protection
Data security and protection are vital aspects of data integration techniques. They encompass implementing measures to safeguard data from unauthorized access, loss, or corruption. The table below outlines the various measures for data security and protection:
| Measure | Description |
|---|---|
| User Authentication | Implement secure login credentials and access controls. |
| Data Encryption | Encrypt sensitive data to prevent unauthorized access. |
| Regular Backup and Recovery | Create backups of data regularly and test restoration process. |
| Access Control and Permissions | Restrict data access based on user roles and permissions. |
| Data Monitoring and Auditing | Monitor data usage and detect any suspicious activities. |
| Firewall and Network Security | Protect data from external threats through firewalls and secure networks. |
| Secure Data Storage | Use secure data storage solutions to prevent data breaches. |
| Data Privacy Compliance | Follow relevant data privacy regulations and best practices. |
By following these measures, the confidentiality, integrity, and availability of the integrated data can be ensured.
Frequently Asked Questions
How can I insert an Excel file into PowerPoint without links?
To insert an Excel file into PowerPoint without links, you can use the “Paste Values” option. This pastes a static copy of the data into PowerPoint, breaking the link to Excel. Simply copy the desired selection in Excel, paste it in PowerPoint, and choose the “Paste Values” option.
How can I retain the source formatting when inserting an Excel file into PowerPoint?
To retain the source formatting from Excel when inserting an Excel file into PowerPoint, you can use the “Keep Source Formatting” option. This ensures that the inserted content in PowerPoint will match the formatting of the original Excel file.
Can I insert only a specific section or chart from Excel into PowerPoint?
Yes, you can insert only a specific section or chart from Excel into PowerPoint. Simply copy the desired selection in Excel, paste it in PowerPoint, and choose the “Paste Link” option. In the dialog box, select either “Microsoft Excel Worksheet Object” or “Microsoft Excel Chart Object” to insert the desired section or chart.
How can I link Excel files to PowerPoint for real-time updates?
To link Excel files to PowerPoint for real-time updates, you can use the “Paste Link” option. This inserts the data as a live Excel object that stays linked to the original spreadsheet. Any changes made to the Excel file will be automatically reflected in the PowerPoint presentation.
How can I visually enhance my PowerPoint presentation by inserting Excel files?
You can visually enhance your PowerPoint presentation by inserting Excel files in a visually appealing manner. This allows for the display of numerical data, charts, and other key information in a visually compelling way. By formatting the inserted content to blend with the PowerPoint theme, you can elevate the visual appeal of your presentation.
How can I modify Excel charts within PowerPoint?
To modify Excel charts within PowerPoint, right-click the inserted chart and choose “Edit Data”. This will open the original Excel spreadsheet, where you can make changes to the data source, switch row or column data for the chart axes, modify labels and legends, and update colors, fills, and styles. Remember to save the Excel file to see the changes applied in the PowerPoint slide.